Setup OneDrive
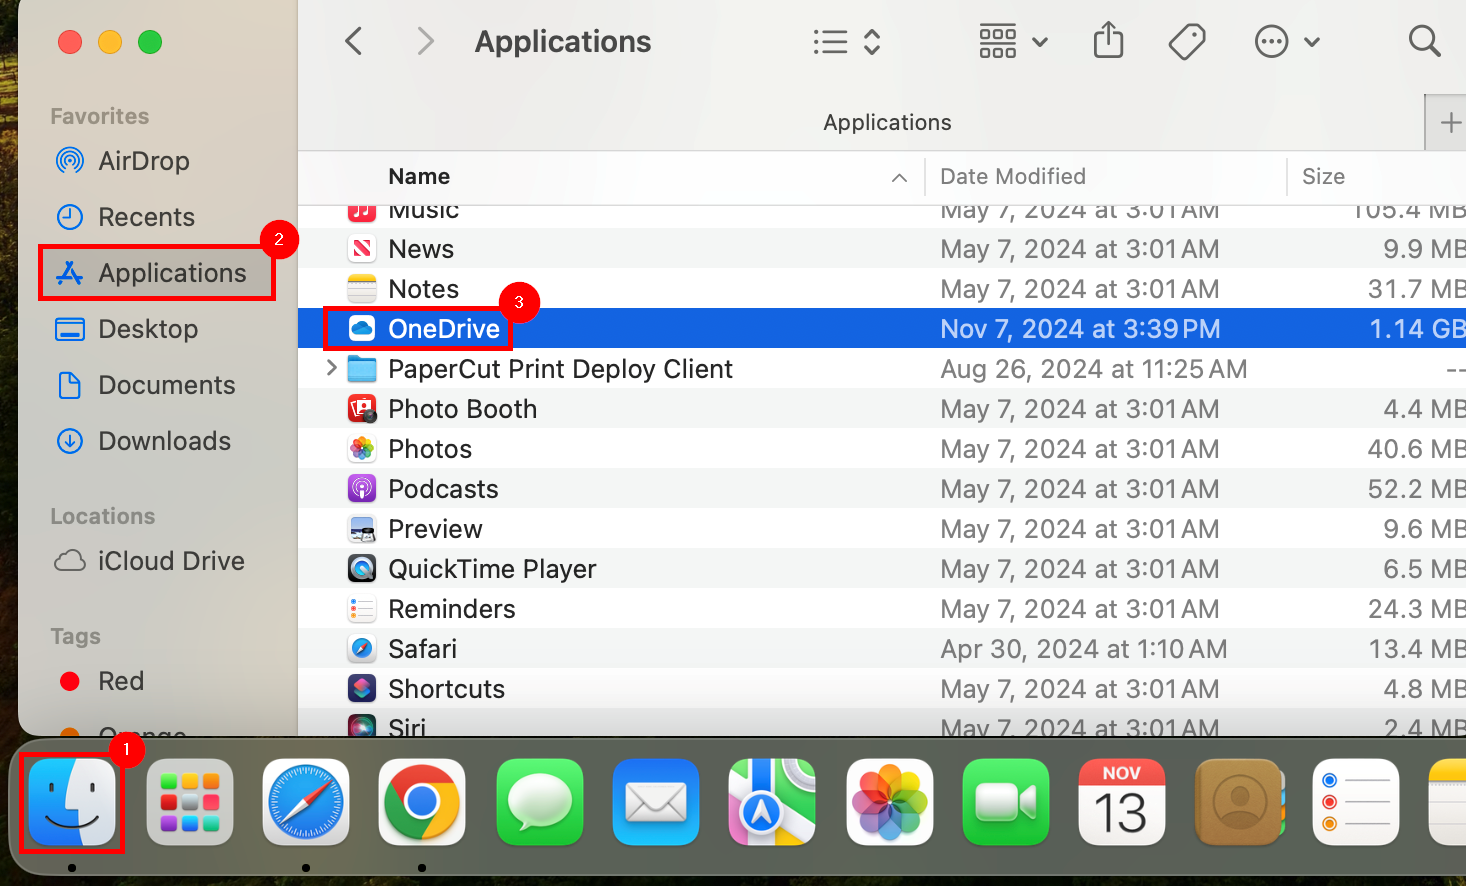
- Launch Finder from the dock. Select Applications from the left menu pane, then select OneDrive from the applications list.

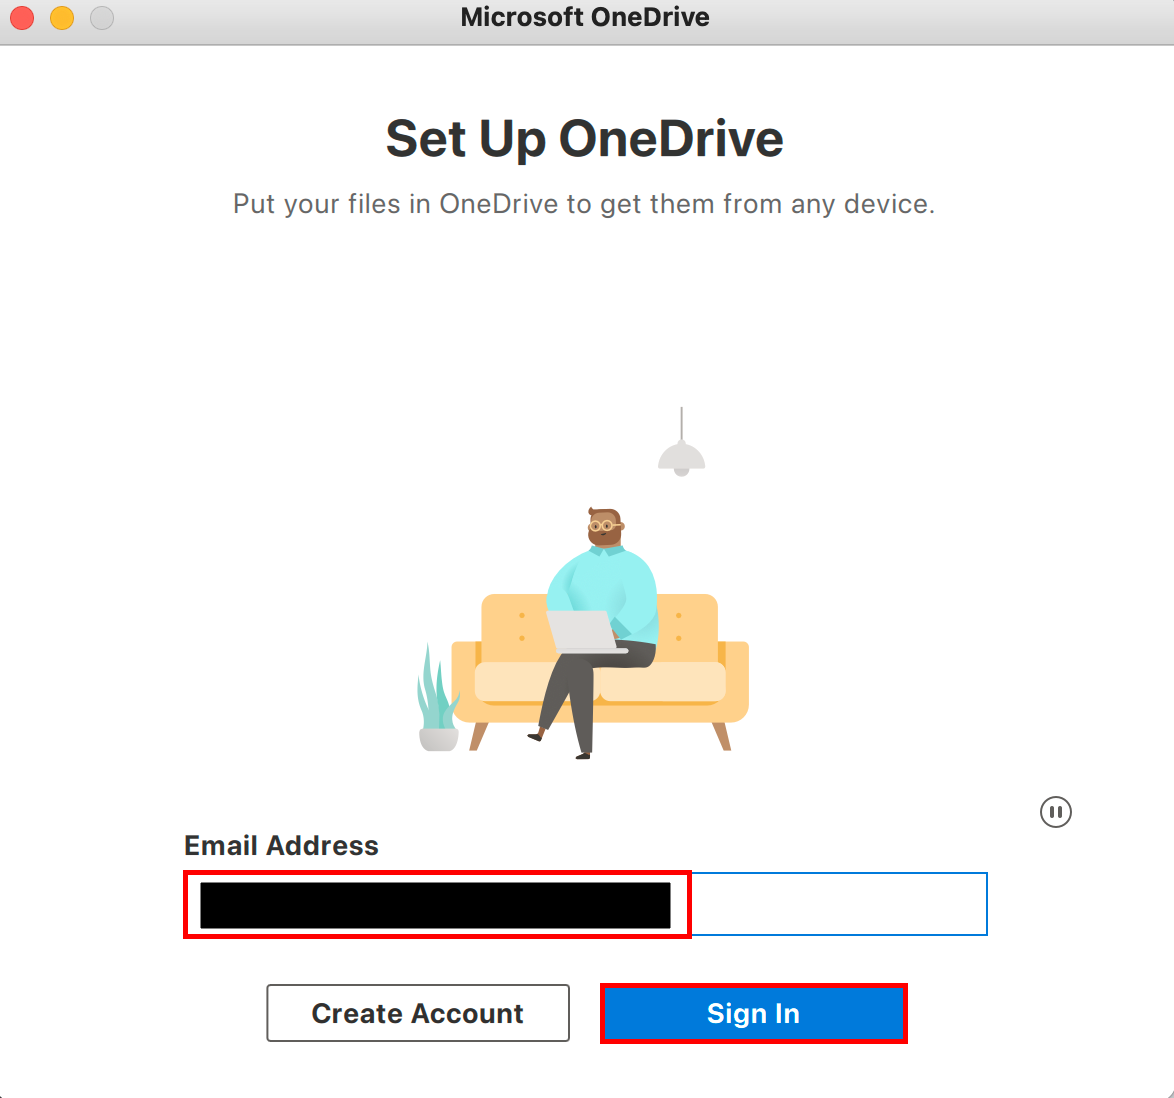
- After a few moments, the Set Up OneDrive window will open.
For the email address, utilize a Microsoft Account.
Select Sign In.
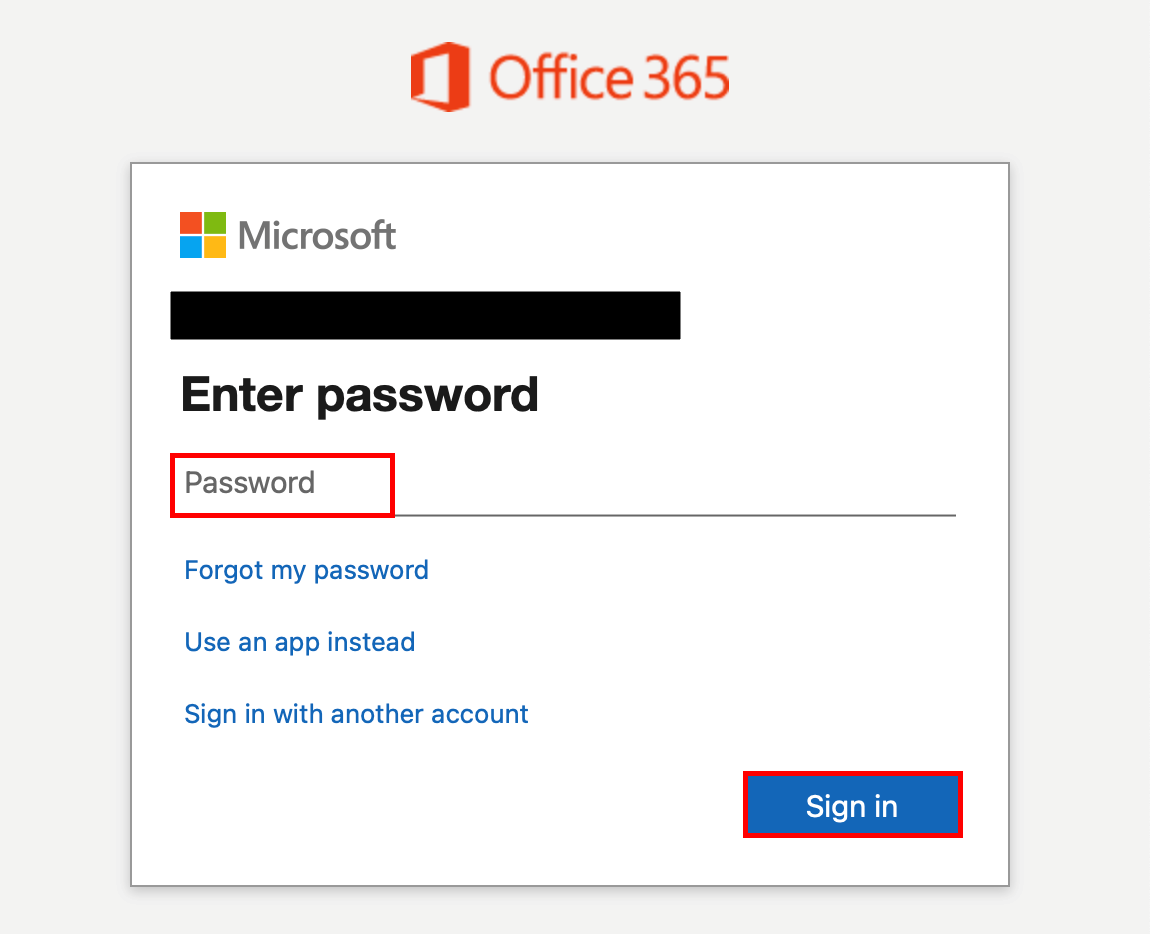
- If an Office 365 redirection occurs, entering the same account information again will be required.

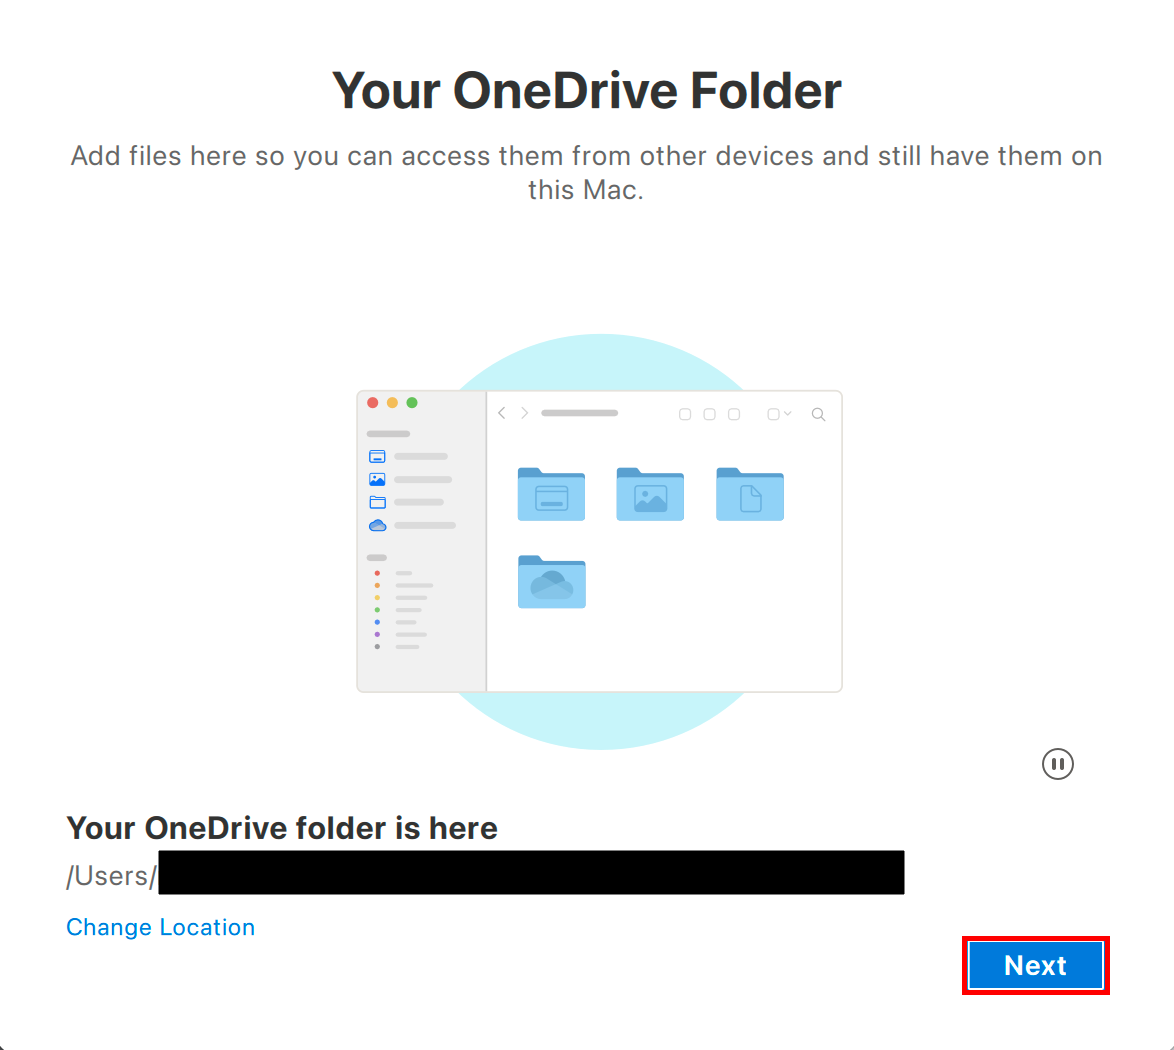
- On the Your OneDrive Folder window, select Next.

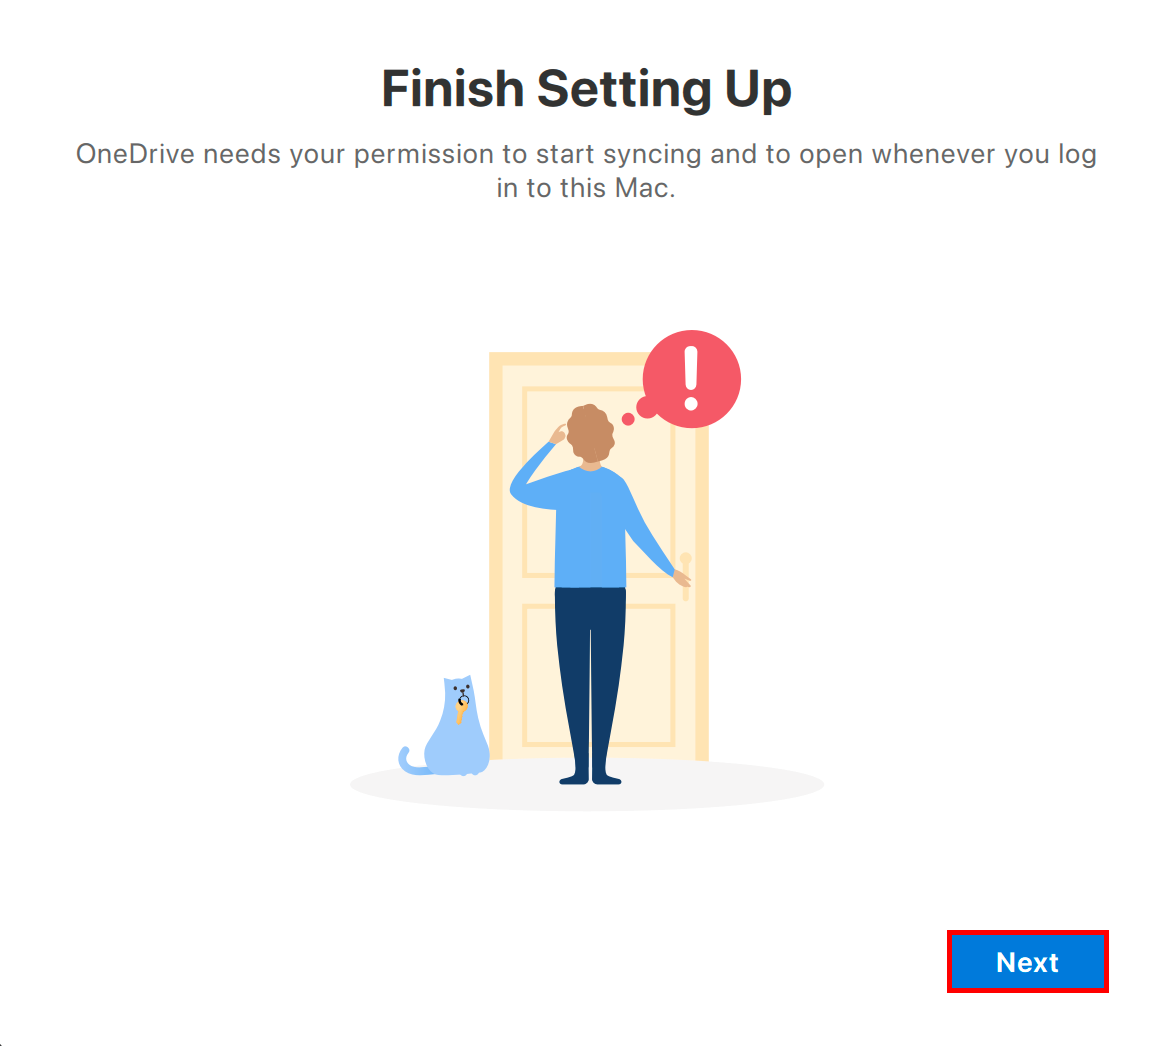
- On the Finish Setting Up window, select Next.

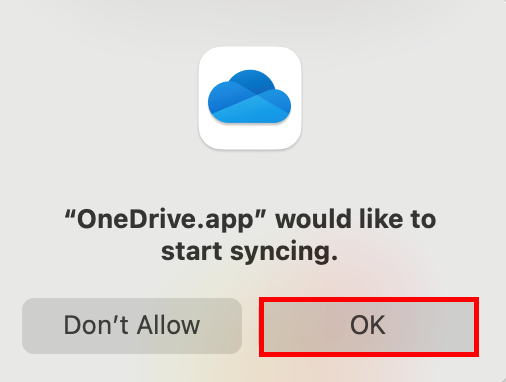
- A dialogue will open for sync permission. Select OK.

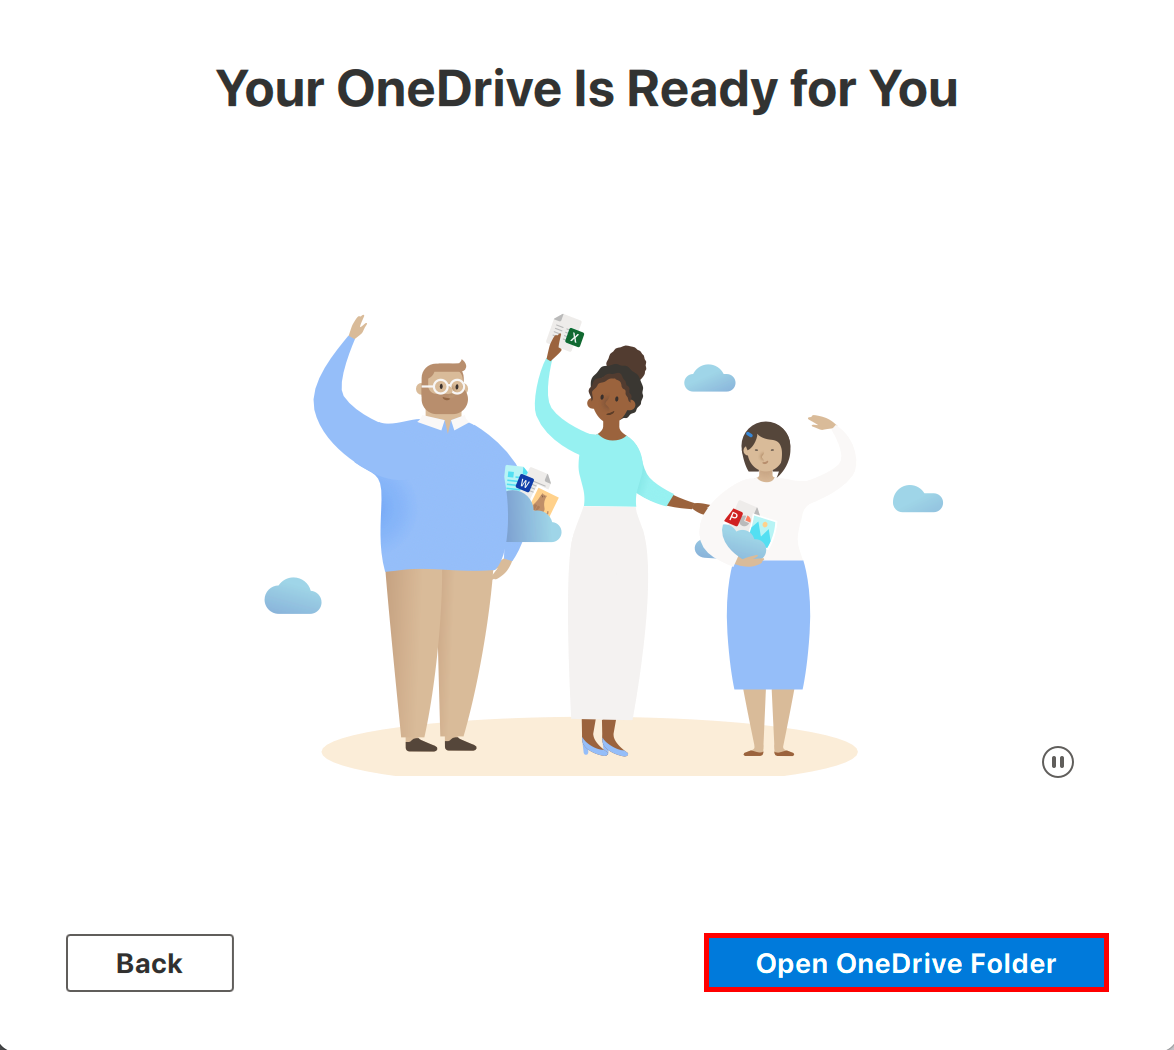
- From the next 5 windows, select Next, Next, Next, Later, and Open OneDrive Folder.

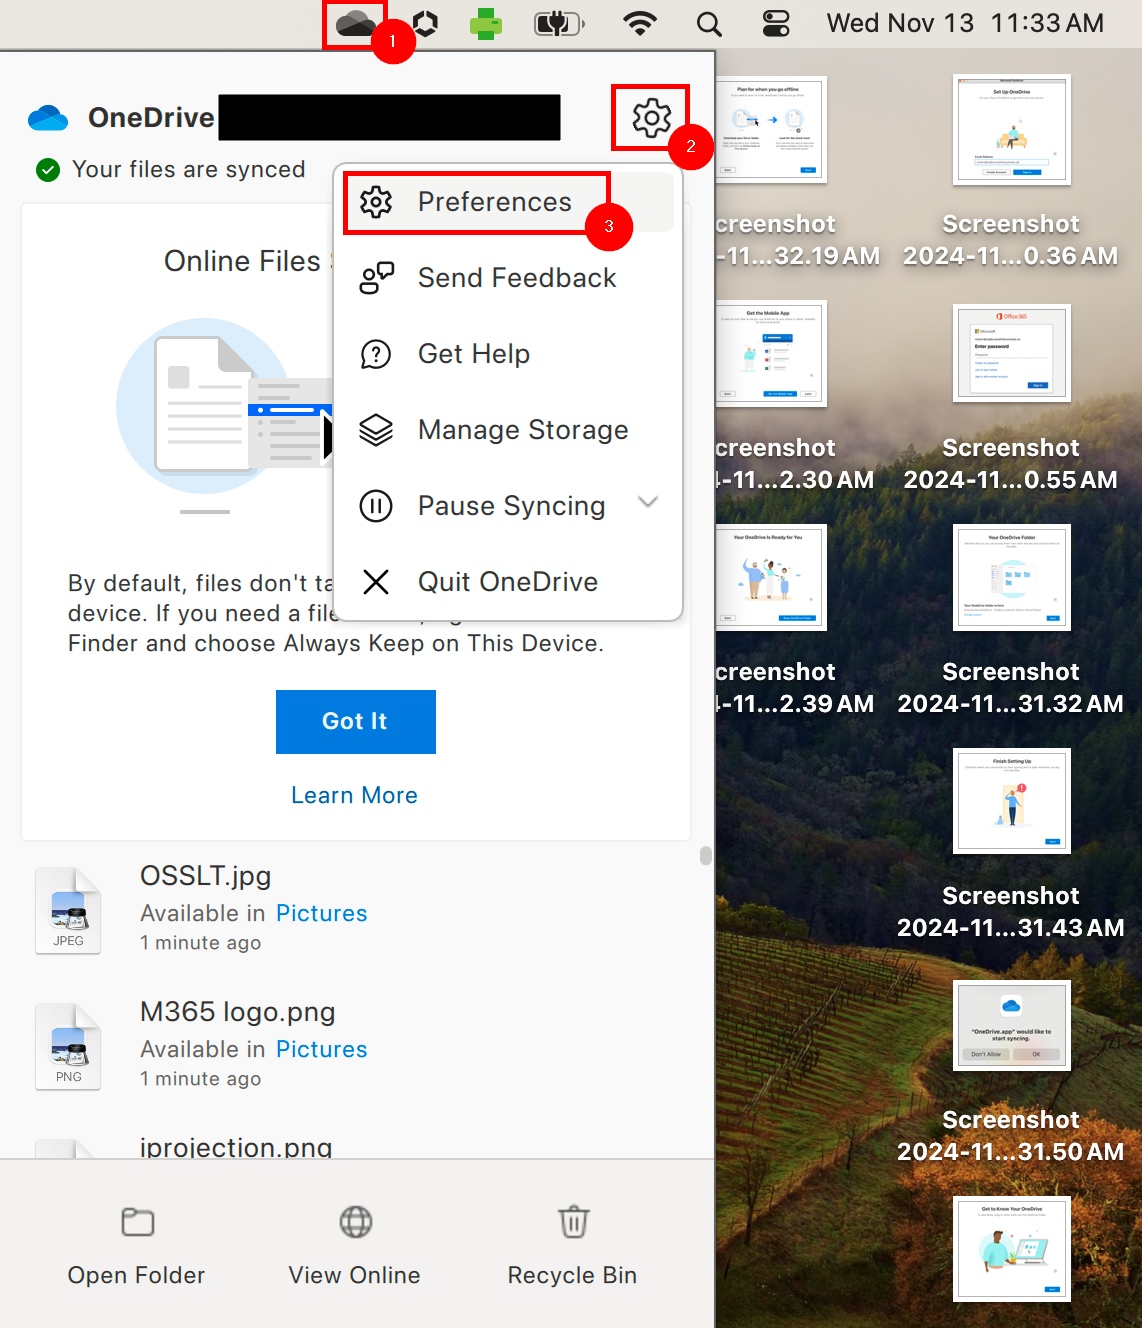
- From the right of the Menu Bar, select the OneDrive Icon.
From the menu that appears, select the Settings Gear.
From Settings, select Preferences.
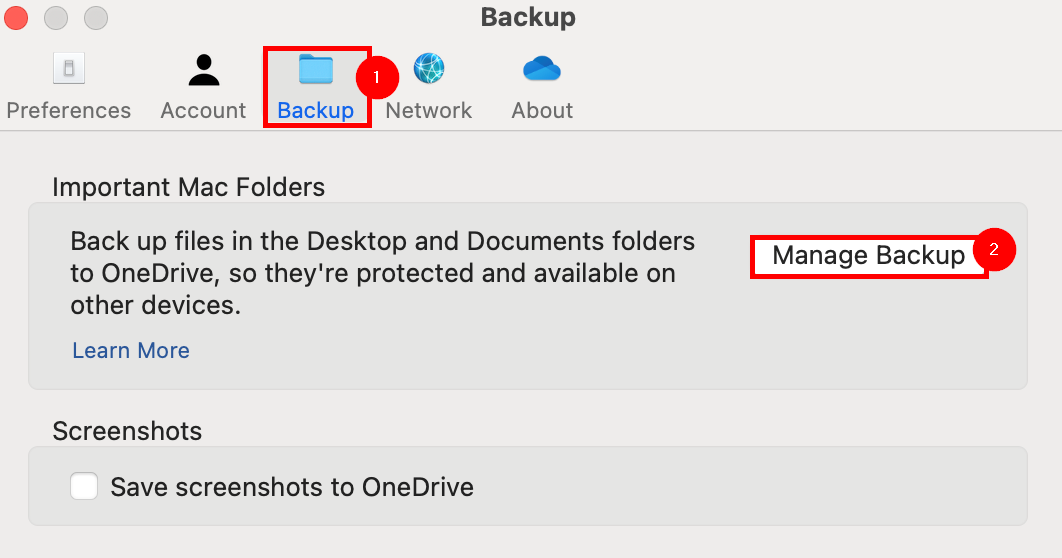
- From Preferences, select the Backup tab, then select Manage Backup.

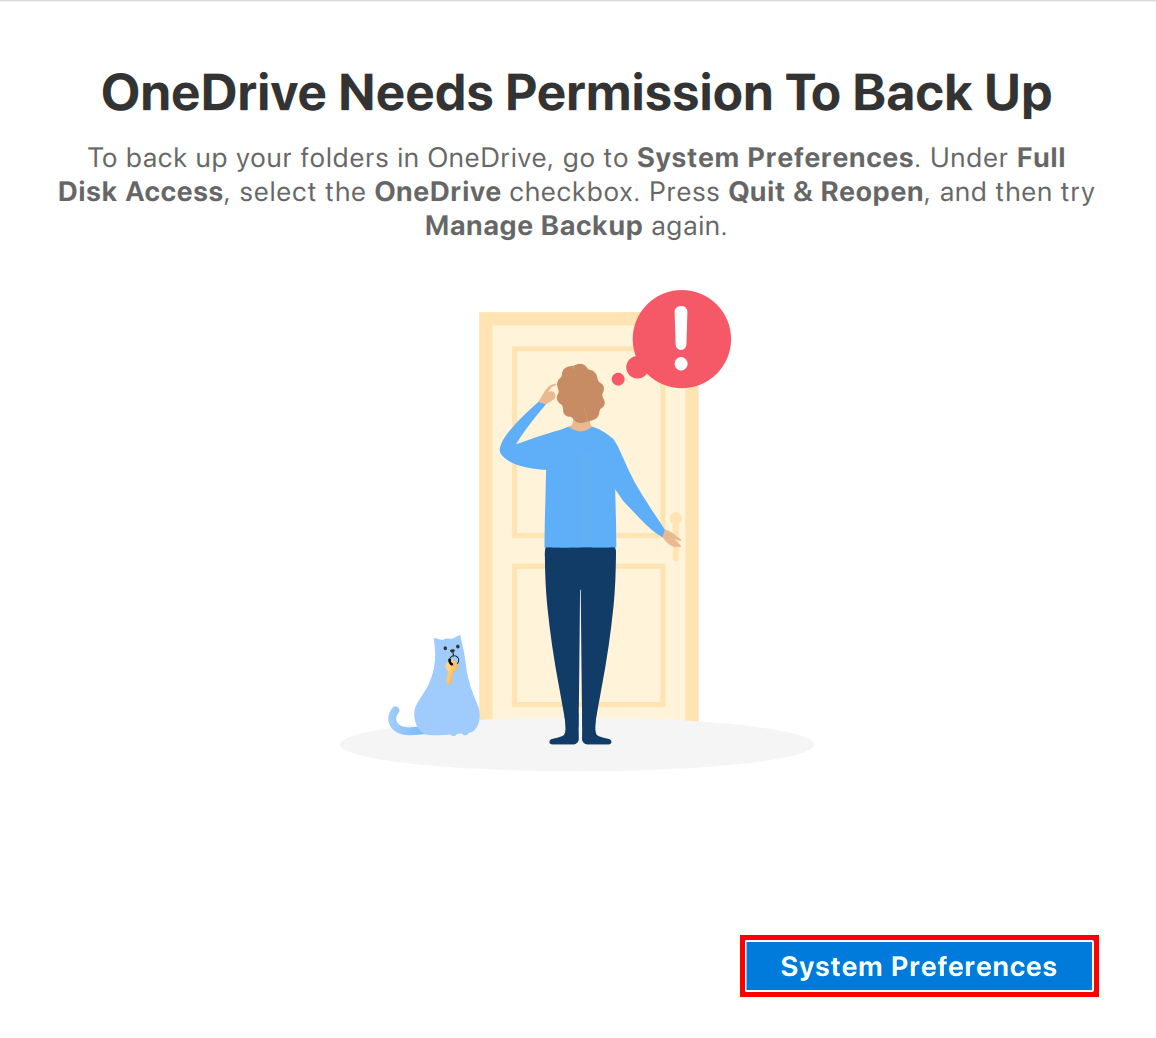
- The OneDrive Needs Permission to Back Up window may open.
Select System PreferencesThis is a vital step to ensure full data backup of all files within the OneDrive, Desktop, and Documents folders.
Not all MacBooks may have these folders configured for backup due to procedure changes over time. As such, verifying these settings is required to ensure files and folders are retained.
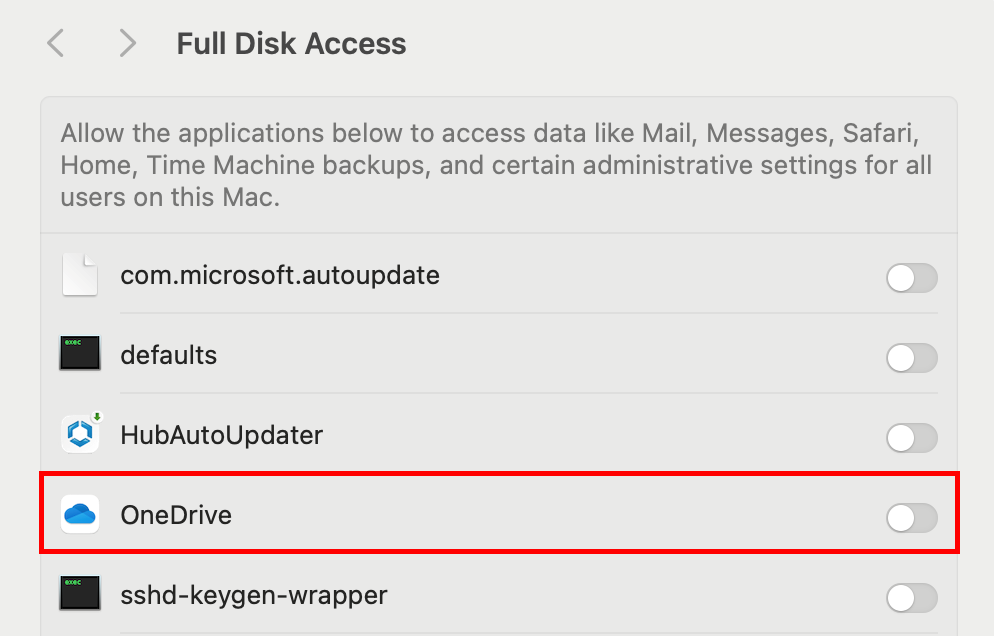
- From the System Preferences menu, select the Slider to the right of OneDrive.

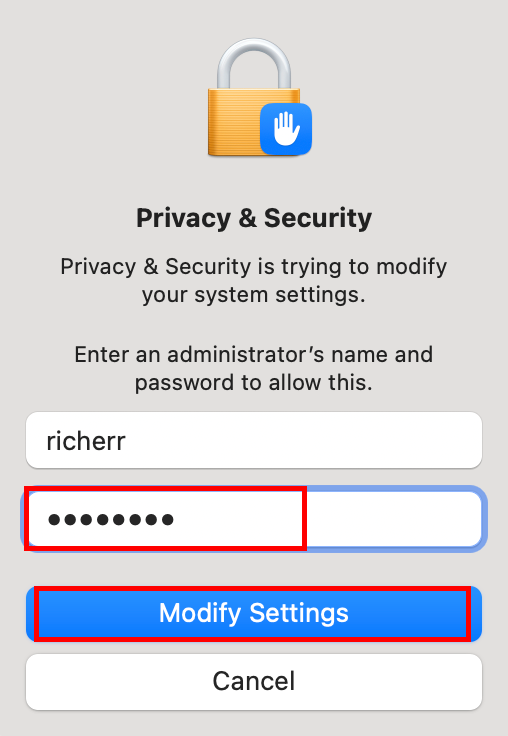
- The MacBook will prompt for your login password.
Enter it, and select Modify Settings.
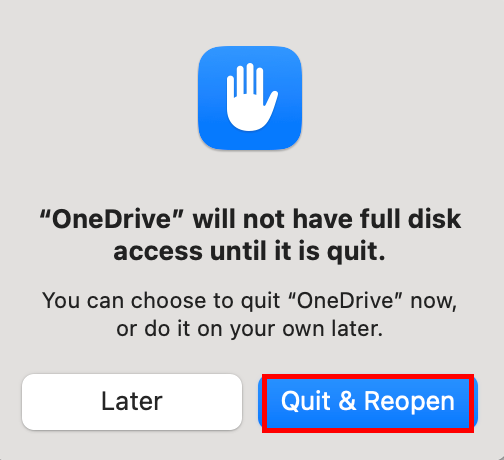
- A dialogue will open, notifying that the change will not occur until OneDrive has restarted.
Select Quit & Reopen.
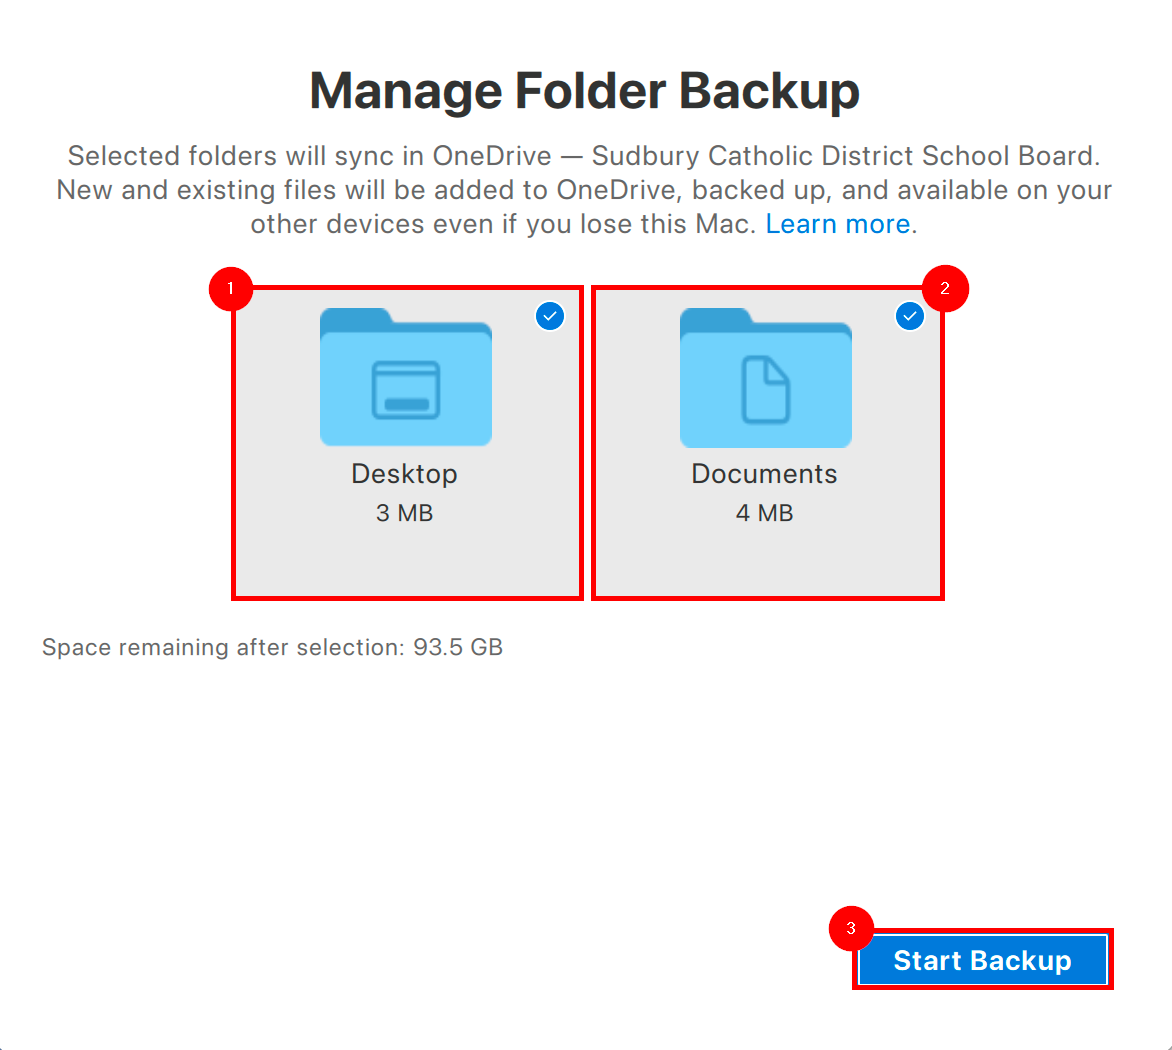
- Repeat steps #8 and #9, to arrive at the Manage Folder Backup window.
Select both the Desktop and Documents folders, and select Start Backup.
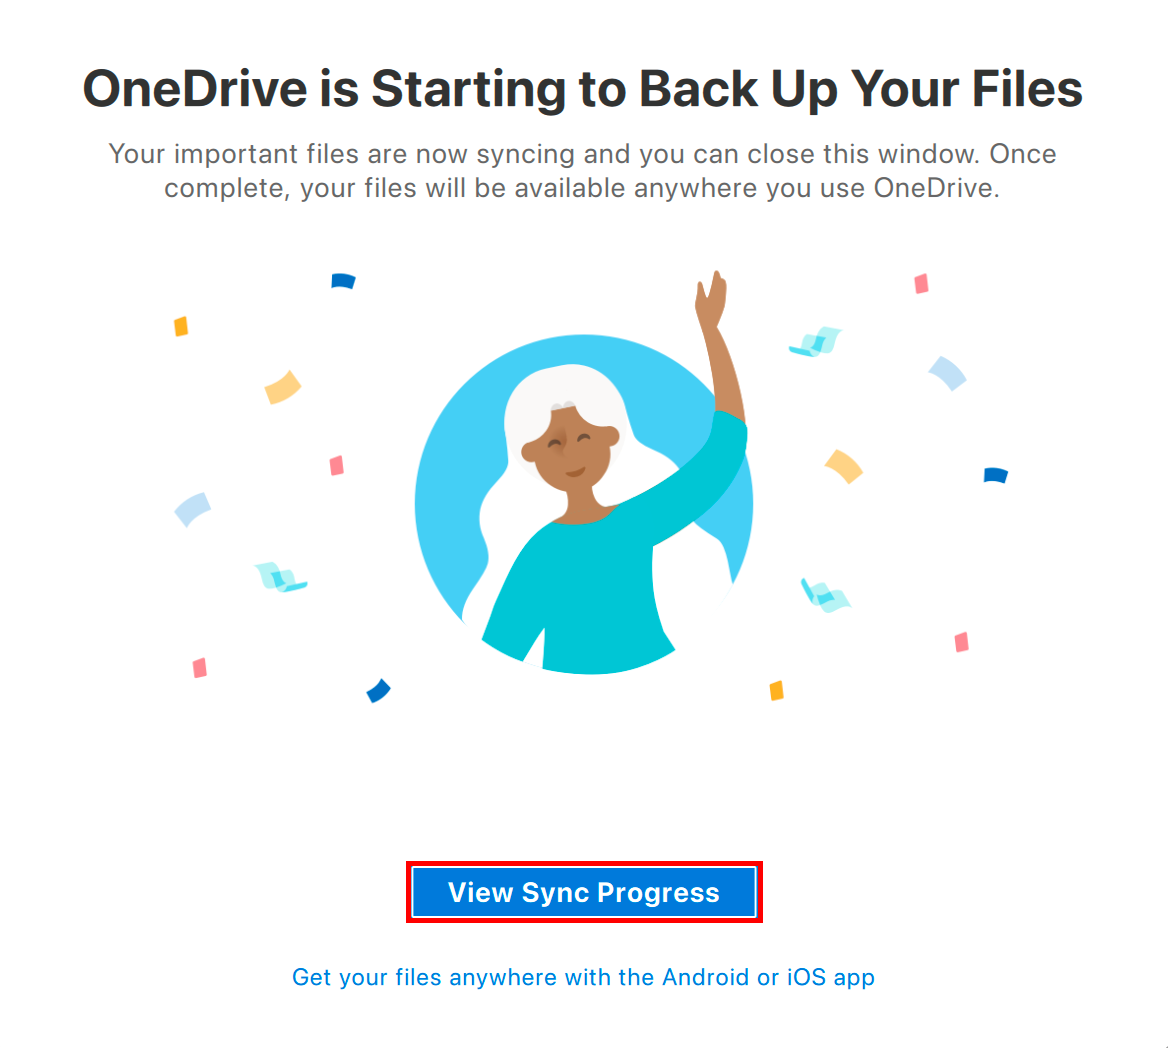
- OneDrive will begin backing up present files, and populating folders with existing files.
Select View Sync Progress to observe its completion.
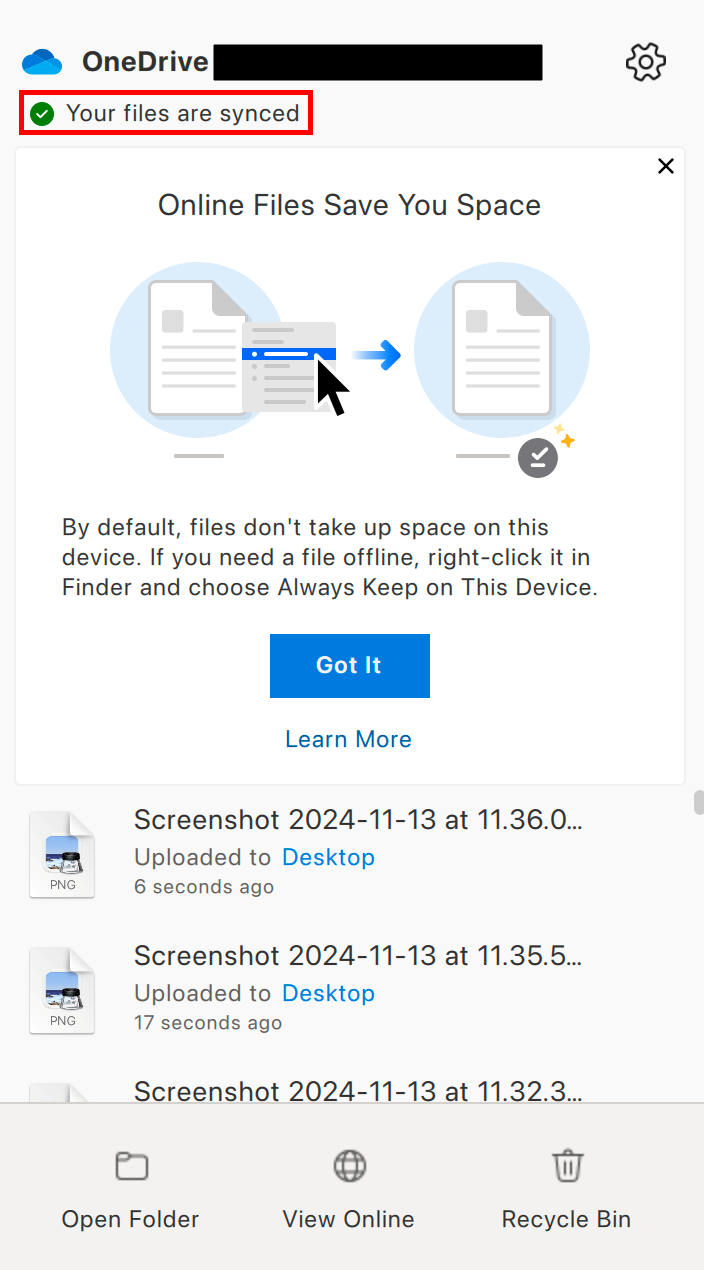
- When complete, the OneDrive menu will read Your files are synced